A gradient is a smooth color transition between two or more colors. Gradients make great backgrounds for product photography or advertisements. They can be a simple way to add some color and a professional look.
The Gradient tool lets you choose from preset options, or you can create your own custom gradient.
To create a gradient:
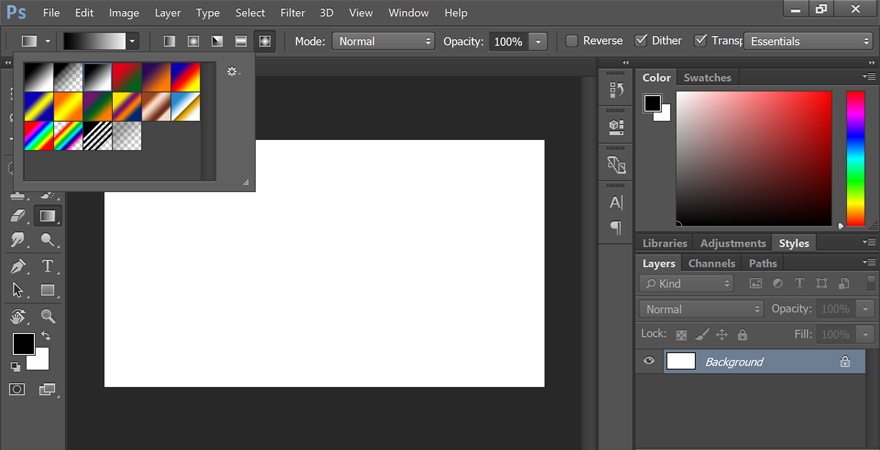
- Click the paint bucket icon. Hold it down until the menu pops up. Select “Gradient Tool.”
- Use the option menu that shows up under the main menu bar. If you click the dropdown menu, you’ll find the preset gradients to choose from.
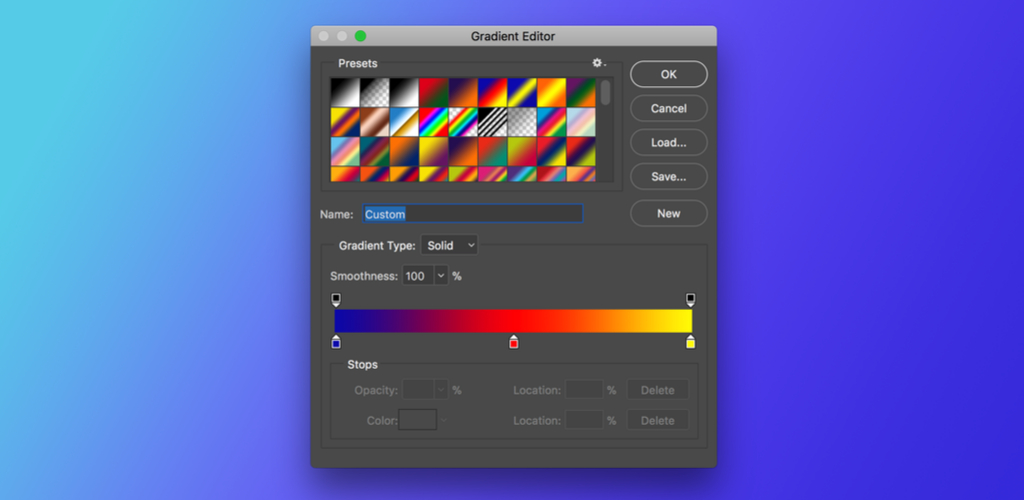
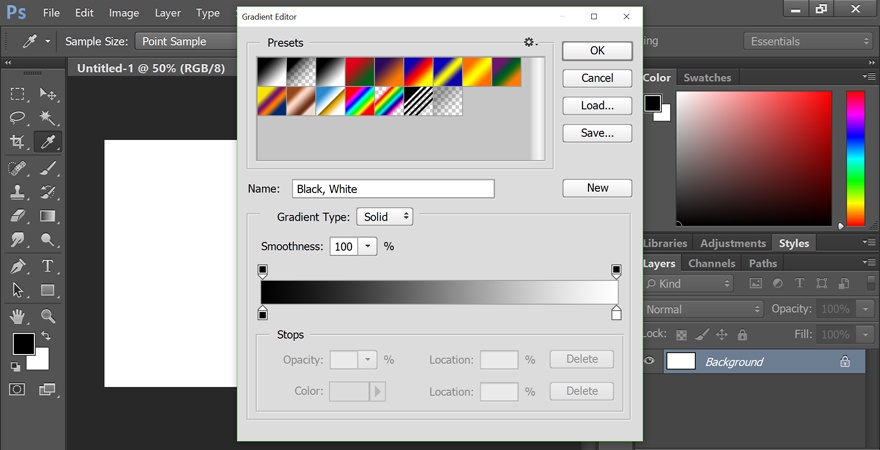
- You can also click the bar instead of the dropdown option. When you do this, the Gradient Editor will open. In this dialog box, you can choose one of the presets and make your own changes if you wish. If you double-click the colored stops that show up on the line below the “Smoothness” box, you can choose custom colors for a preset gradient pattern.
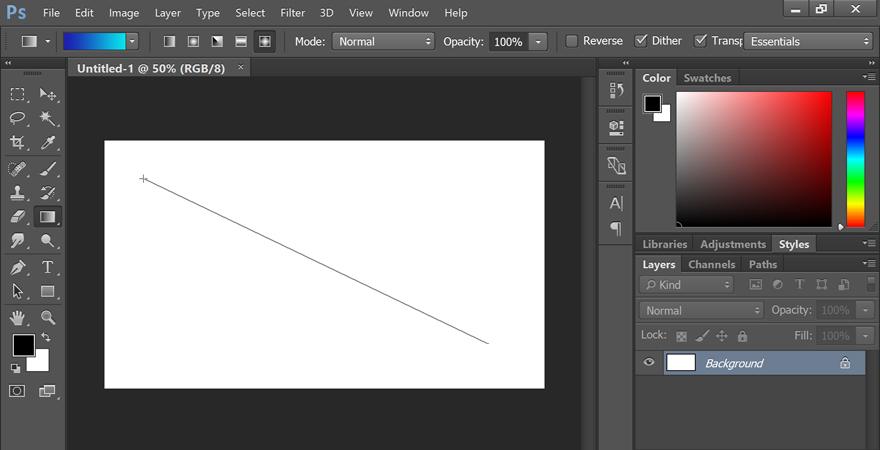
- Once you choose the gradient options you want, click OK. Now you can draw it onto your document by clicking the starting point, holding your mouse down, and dragging the line to the point where you want the gradient to end. For example, if you want a diagonal gradient, you can click the top left corner of your document and drag to the bottom right corner.
- Photoshop will create a gradient that fills the layer.
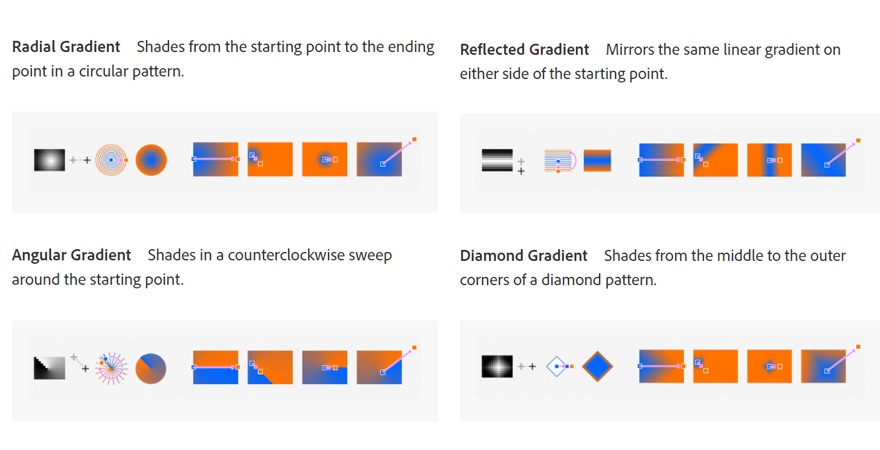
In the top menu, you’ll see five total gradient options:
- Linear gradient: A straight line, which is the example above.
- Radial gradient: A circular pattern, going outward symmetrically from the starting point.
- Angular gradient: A counter-clockwise sweep going around your starting point.
- Reflected gradient: A mirror linear gradient on both sides of your starting point.
- Diamond gradient: A diamond pattern from middle to outer corners.